One damaged brick can draw attention across an otherwise attractive facade. Yet replacing that unit is not only a matter of finding something red and putting it into the opening. Brick size, surface texture, color variation, mortar, and the condition of the surrounding wall all affect the result. A well-scoped repair begins by understanding what is present and what the visible damage may indicate. For homeowners, the useful starting point is a careful record of the area and a conversation about repair boundaries, rather than an attempt to diagnose or dismantle the wall.
Describe the Damage Without Jumping to a Cause
Look at the affected area from a safe position on the ground. Is the face of a brick flaking away, is a corner broken, or does a crack continue through several units and joints? Note whether the condition has changed and whether it appears near a downspout, opening, ground level, or another building connection. These details help a masonry contractor prepare for a site visit. They are observations, not proof of a particular structural or moisture problem.
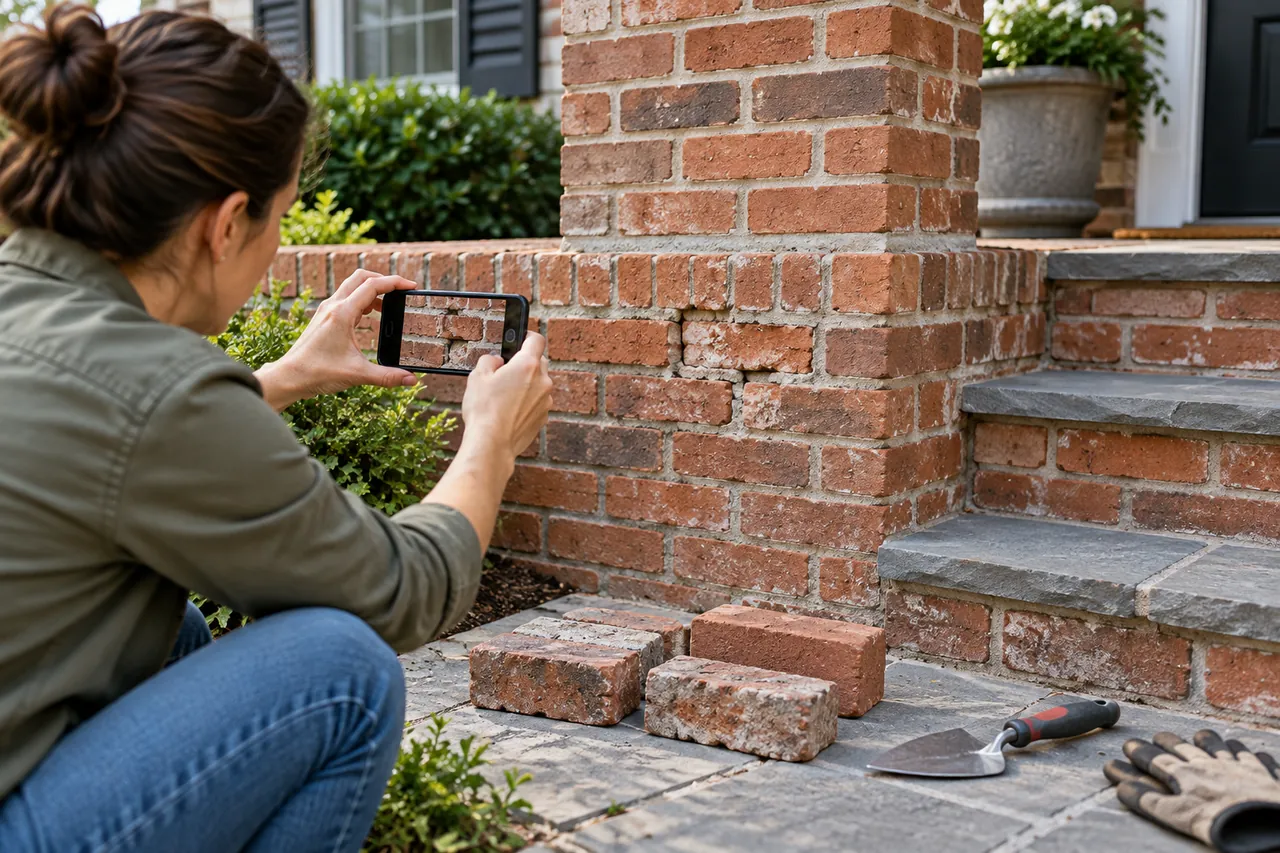
If you have earlier photographs, keep them with current views taken from similar positions. Include an overall image showing where the repair sits on the house, as well as a closer view when it can be obtained safely. Do not climb, scrape material away, or pull on loose masonry to make the problem easier to photograph. Where masonry appears unstable or a crack is changing, keep people away from the affected area and seek appropriate professional assessment before discussing a cosmetic repair alone.
Match More Than the Main Color
A replacement brick that looks close in a small photograph may look different beside the existing wall. Shape, dimensions, edge character, surface finish, and the range of tones within the brickwork all contribute to its appearance. Weathering can make older units look different from newly supplied material even when the original product is known. Ask the contractor how matching will be approached and whether a physical sample can be reviewed beside the repair area.
View samples in ordinary daylight rather than relying only on a screen or showroom lighting. Consider the wall as a group of units, not a single favorite brick. A varied facade may need a thoughtful blend rather than a uniform replacement color. If an exact match is unavailable, discuss the options and the expected visual distinction before work begins. A clear explanation of the matching limits is more useful than an unsupported promise that a repair will be completely invisible from every angle and in every light.
Include the Mortar and Surrounding Details
Mortar has both an appearance and a function. Its color, joint profile, and relationship to the existing masonry influence how the repaired section fits into the wall. The contractor should consider compatibility rather than selecting a material solely because it is readily available or described as stronger. Avoid directing a mortar mix from an online recipe. Existing materials and building conditions need to inform the professional recommendation, especially where older brickwork or unusual construction is involved.
Ask how neighboring units and joints will be protected during removal and replacement. Clarify whether the scope includes adjacent deteriorated joints, cleaning, or other details that become visible once access is available. Also discuss connections that may be related to the damage, such as nearby caps, flashing, or water discharge. A brick replacement does not automatically include correcting every surrounding building issue. If another trade or specialist needs to assess a related condition, identify that responsibility so a neat surface repair is not mistaken for a complete solution to an unresolved cause.
Agree on the Finished Area and Handoff
Use a marked photograph or a simple description to establish which units or sections are included. Confirm how the contractor will communicate discoveries that could expand the repair, and how you will approve those changes. Ask about access around planting beds, outdoor furniture, paths, and entrances. Materials and tools need a suitable work area, while household members and pets need a route that does not pass through the repair zone. These arrangements are easier to make before the crew arrives.
At completion, review the agreed work with the contractor and ask about any care or protection instructions specific to the materials used. New work can look different while it settles into its surrounding appearance, so discuss what to expect without assuming a fixed color change or timetable. Retain the scope, sample decisions, product information when supplied, and photographs of the completed area. If the original concern involved a recurring condition, record which related issues were addressed and which remain outside the masonry repair contract.
A successful brick repair respects the wall as a connected assembly and a visible part of the home. The most useful questions concern existing conditions, compatible materials, matching limits, and clearly defined work. Bring those questions to the initial review, and let a qualified site assessment guide the repair rather than choosing a replacement solely from its surface color.